Surgical Instrument Sterilization Process
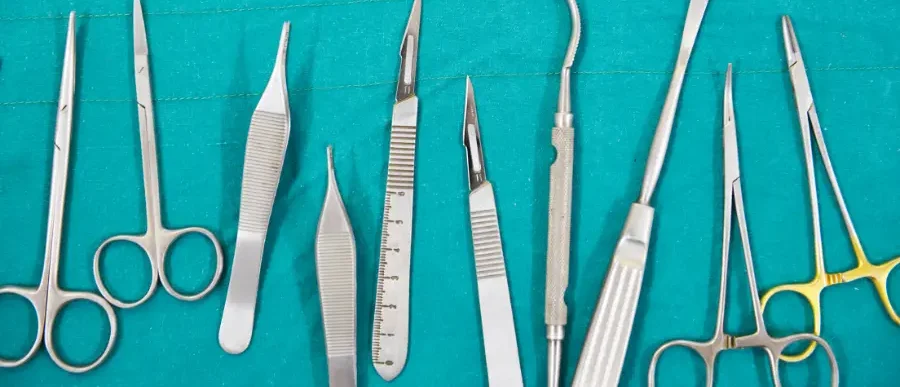


Between 40 and 50 million major surgeries are performed annually in the US. Each surgery requires medical devices and surgical instruments to perform specific actions. Surgical instruments are available in a huge variety, each designed to complete a particular task.
Whether surgical instruments are used to cut, hold, remove, or otherwise manipulate biological tissues; they come in contact with potentially infectious materials (OPIMs). OPIMs can contain harmful bloodborne pathogens that spread disease. To reuse surgical instruments, they must be properly reprocessed to make them safe. Sterilization lowers the risk of transmitting infectious pathogens from patient to patient.
Cleaning, Disinfection, and Sterilization
Before surgical instruments can go through the sterilization process, they must be cleaned. Below are key definitions to help you understand the process:
- Visible Soil – Organic or inorganic materials; such as blood, bone, tissue, dirt, or dust
- Non-visible Soil – Bacteria, viruses, microorganisms, and chemicals
- Cleaning – the removal of visible soil from a surface or item through manual or mechanical cleaning using water and detergents or enzymatic products.
- Decontamination – the use of physical or chemical means to remove, inactivate, or destroy contaminants on a surface or item. (Defined by OSHA)
- Disinfection – the process of reducing non-visible soil and viable microorganisms on a surface or item.
- High-level Disinfection – the elimination of viable microorganisms on a surface or item, including most bacterial spores.
- Sterilization – the process of destroying all forms of microbial life on a surface or item using physical or chemical methods.
The cleaning process is a critical step in sterilization. If visible soils are still present, the risk of disease transmission to patients still exists. Foreign materials can act as a barrier to the sterilization agent and interfere with the sterilization process. Residual soils can also damage surgical instruments and cause them to function improperly.
Critical, Semi-critical, and Non-critical items
Surgical equipment and items will fall into the critical, semi-critical, or non-critical categories based on the contact with the human body or body parts. Each category requires a different level of cleaning to maintain health and safety for patients and providers.
- Critical items – Objects that enter sterile tissue or the vascular system. This includes surgical instruments, catheters, implants, and ultrasound probes. Critical items require sterilization through heat, steam, or chemical sterilants.
- Semi-critical Items – Objects that contact mucous membranes or non-intact skin. This includes respiratory equipment, anesthesia equipment, and some endoscopes. Semi-critical items require high-level disinfection at a minimum.
- Non-critical Items – Objects that come in contact with intact skin. This includes blood pressure cuffs, bedpans, and other patient care items. Non-critical items require low-level disinfection.
The Surgical Instrument Sterilization Process
Reprocessing surgical instruments makes it possible to safely reuse the devices. Following the latest protocols with consistency and standardization minimizes the risk of infection and helps ensure quality outcomes for the patient.
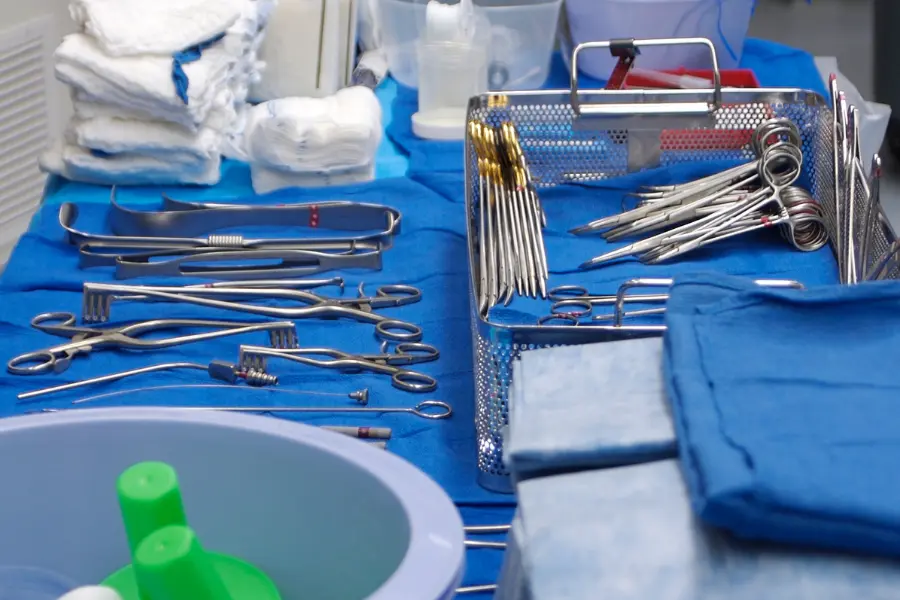
Step 1: Handling, Collection, & Transport
Reprocessing begins at the point of use. Handle instruments carefully and with the appropriate personal protective equipment (PPE). First, separate all reusable items from waste. Remove any visible soil, keep instruments moist, and place them in a leak-proof container for transport to a dedicated decontamination zone.
Step 2: Cleaning & Decontamination
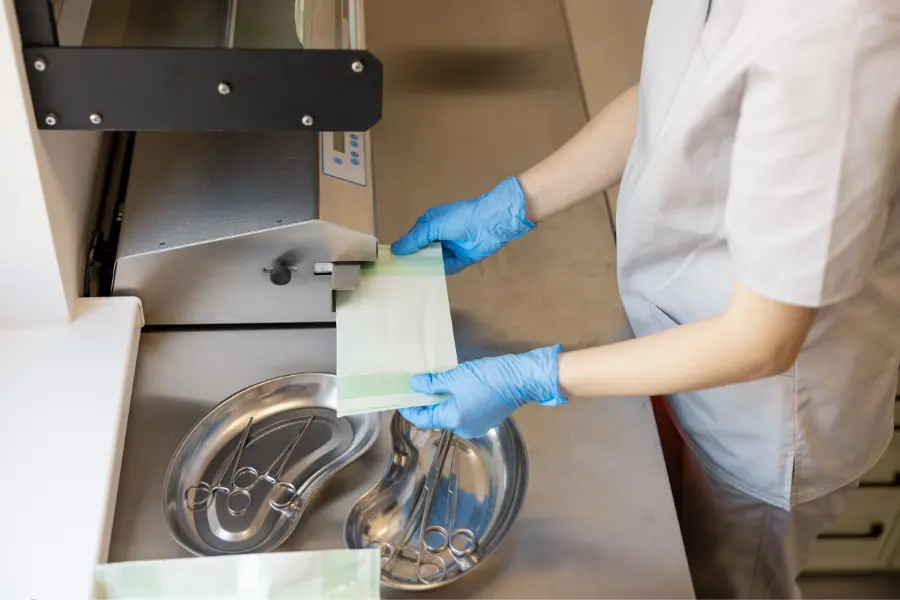
Disassemble the instruments according to the manufacturer’s Instructions for Use (IFU). Disassembly exposes all surfaces to the cleaning process. Thoroughly clean each instrument with a compatible detergent and rinse to remove any residue.
Follow manual cleaning with an automated washing process. You can use an ultrasonic cleaner or instrument washer.
Step 3: Inspection & Packaging
Verify the cleaning process with ATP or protein detection. Inspect each instrument for residual debris or damage, while also checking for proper function. Lubricate hinged instruments as required. Assemble and pack the instruments using FDA-approved products. The packing material may vary based on the type of sterilization needed. Affix internal and external indicators to the packages
Step 4: Sterilization
Properly load the sterilizer. Do not overload the sterilizer cart and allow space between packs. The CDC recommends steam sterilization as the process of choice, but chemical vapor or rapid heat transfer can also be used.
Run the cycle according to the sterilizer manufacturer’s instructions. Allow the items to completely dry and cool before removal.
Step 5: Sterile Storage & Distribution
Store the sterile instruments carefully to reduce the potential for contamination. Inspect the packing for integrity before distributing. Any opened, wet, or damaged packages should not be used.
Distribute the instruments on a first-in, first-out basis. Decontaminate and dry all carts or other transport vehicles before use.
Safely Treat & Dispose of Medical Waste with Medical Waste Pros
The safe treatment of medical equipment and waste is critical to the health of your patients. Medical Waste Pros partners with local experts to help you safely manage the task. We can help you develop a step-by-step plan for medical waste management that is fully compliant and secure. Give us a call at (888) 755-6370 or fill out the form to get matched with a trusted provider in your area today.